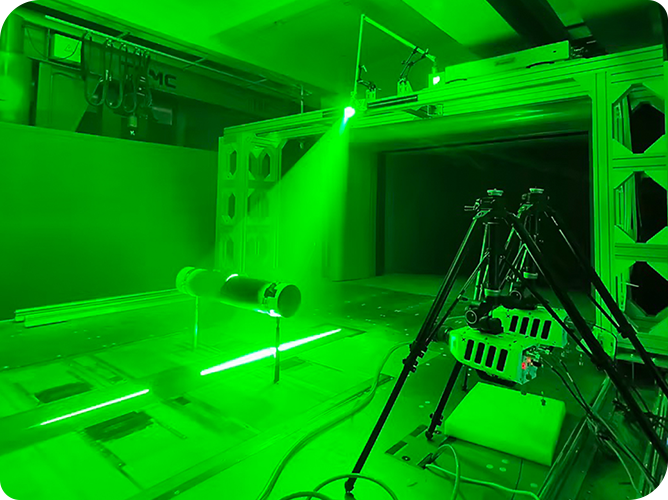
In order to reduce the measurement errors caused by the displacement adjustment of the PIV high-speed camera, the calibration plate process, and the experimental placement, the PIV flow field measurement needs to apply the surface self-calibration and volume self-calibration technology to improve the measurement accuracy.
PIV-2D3C measurement
When establishing the measurement space coordinate system, defining the coordinate origin O, and specifying the x and y axis directions in the plane, the calibration plane where the calibration plate is located does not coincide with the measurement plane where the laser light is located, and translation or rotation occurs, resulting in reconstruction errors.
The principle of correcting the mapping function based on the parallax vector field
The first step is to map the particle image to the calibration plane and calculate the parallax vector field.
The second step is to use the triangulation positioning method to determine the intersection of the light rays passing through the two ends of the vector in the measurement space, and the least squares method is used to fit the intersection to obtain the expression of the measurement plane in the original calibration coordinate system.
The third step is to transform the original coordinate system so that the measurement plane becomes a plane with z=0, and calculate the translation and rotation of the calibration plane and the measurement plane.
Step 4: Determine the physical coordinates of the intersection in the new coordinate system and fit the mapping function.
Step 5: Iterate until the disparity vector field converges to a small enough size to obtain an accurate mapping function.
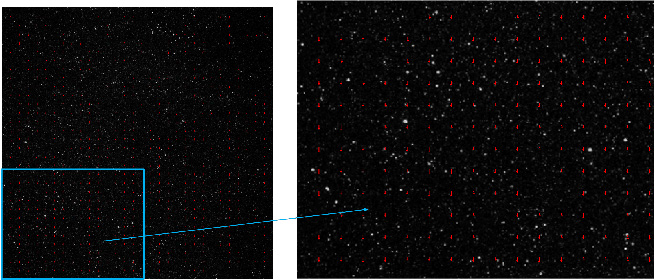
Before and after surface self-calibration, the particle distance deviation is reduced from 4.2159 pixels to 1.1903 pixels.
Figure 1 Before surface self-calibration (window size 64×64×64)
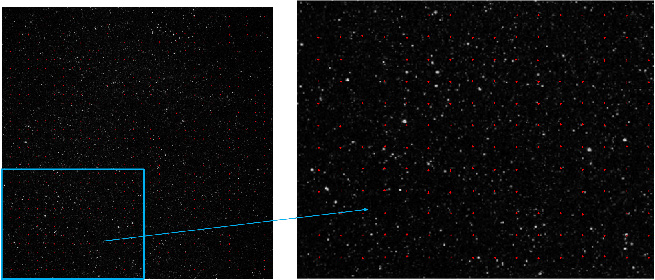
Figure 2 After self-calibration (window size 64×64×64)
PIV-3D3C measurement
The calibration plate processing technology or PIV camera displacement cannot accurately locate the particles in multiple views, resulting in the non-overlapping line of sight of the particles.
Based on the principle of the small hole model reconstruction algorithm using a third-order polynomial.
The first step is to measure the pixel coordinate set S1, S2, S3, S4 of all the white patches of particles in the particle images under the four cameras.
The second step is to traverse the pixel coordinates of each particle in S1, map them to the volume space, and obtain a string of potential space coordinates.
The third step is to project the obtained potential space coordinates to camera 2 to obtain a string of pixel coordinates, and determine whether the pixel coordinates meet the matching conditions (within the line of sight, the distance line is less than a certain threshold, and the projection point falls within the line segment). If it meets the conditions, the particle space coordinates can be determined. If not, return to the second step and analyze the next particle. Project the spatial coordinates of the successfully matched particles to camera 3 and camera 4 for further verification. If the projection points are located at the corresponding particle pixel coordinates in S3 and S4, the match is successful, otherwise return to step 2. Repeat the above process until all successfully matched particles are located.
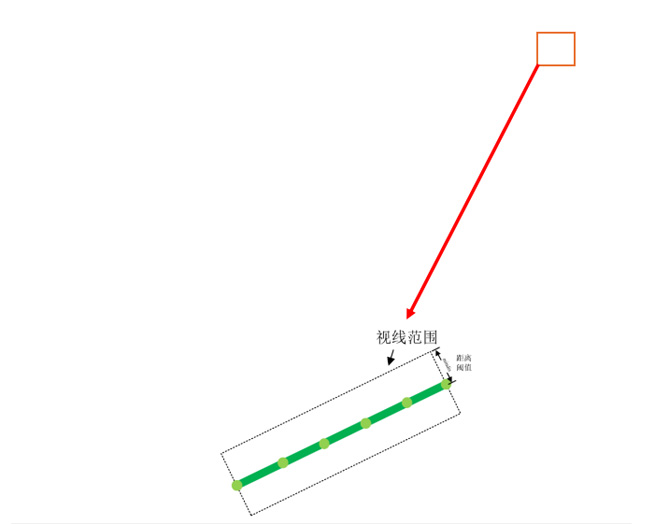
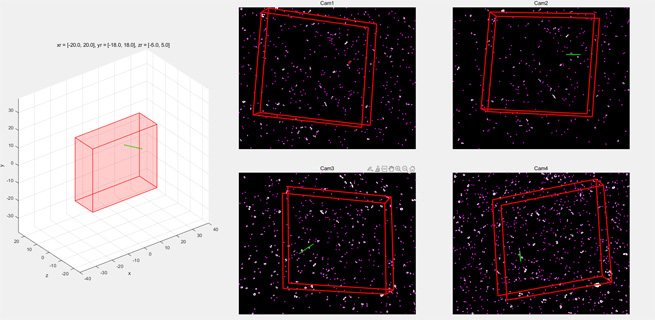
Figure 3 Schematic diagram of pixel coordinate matching
Step 4 Establish a third-order polynomial algorithm optimization model to solve the optimal particle spatial coordinates (X, Y, Z) with the smallest average reprojection error.
Step 5 Inverse solve and update the calibration model parameters based on the new spatial position.
Step 6 Iterate until the reprojection error reaches a stable convergence state.
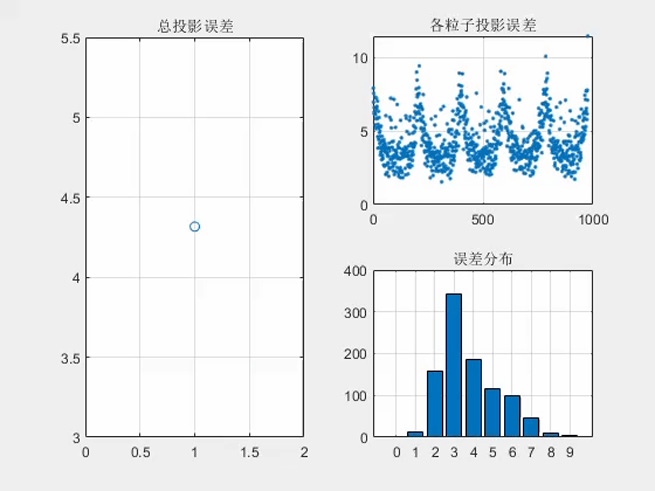
Before self-calibration, the total projection error is distributed around 3~4 pixels. After 3 rounds of iterative convergence, the error is stable at around 1 pixel, of which errors <1 pixel account for 65%.
Revealer RFlow 2D3C, 3D3C particle image velocimetry software integrates the above self-calibration technology to help fluid mechanics researchers obtain accurate representation of the three-dimensional velocity vector field of tracer particles in planar three-dimensional space and volume space.
