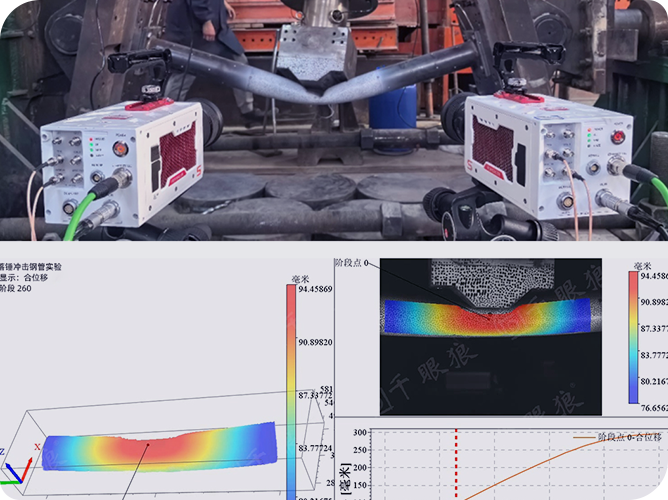
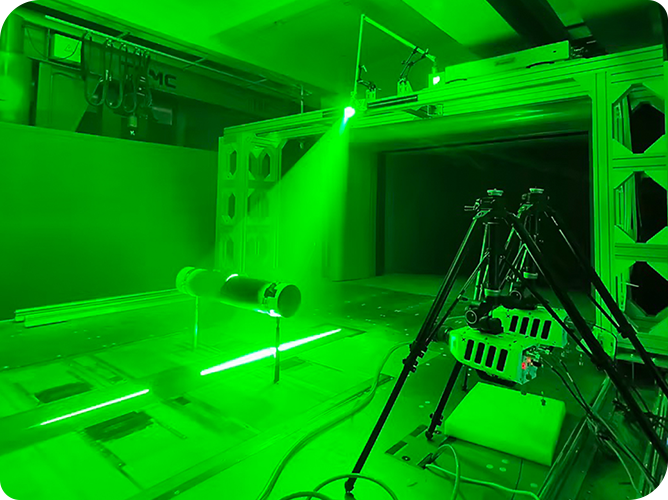
In the field of engineering design, the bearing capacity test of engineering structures is a necessary link. Through the strain measurement under the design load, the compressive strength of the cylindrical specimen is visually and digitally evaluated.
Recently, Revealer technical engineers and researchers from an engineering laboratory jointly carried out a cylindrical specimen pressure test based on the DIC binocular measurement and splicing principle.
1) 200-ton hydraulic servo fatigue testing machine.
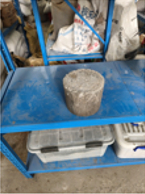
2) Cylindrical concrete specimen with a diameter of 200mm and a height of 500mm.
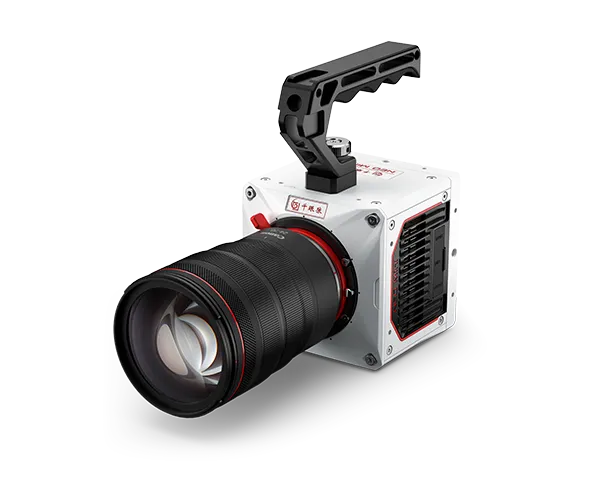
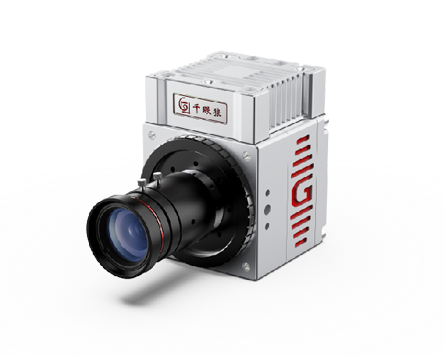
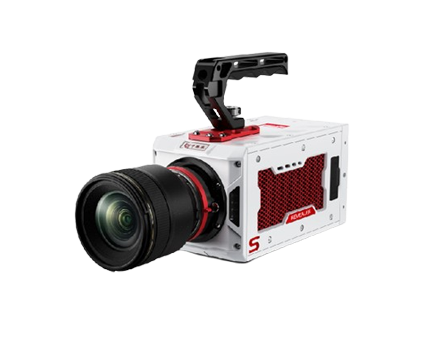
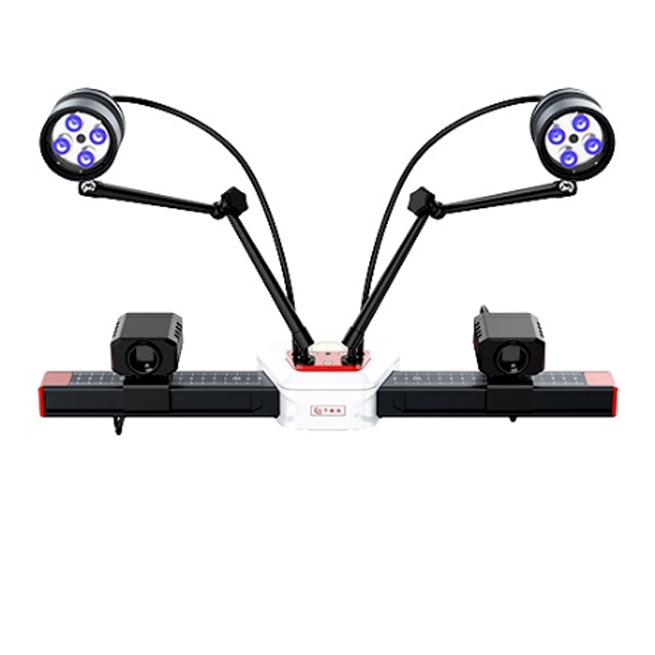
3) 2 sets of Revealer DIC binocular quasi-static measurement devices, with an image resolution of 4096×3000.
Project | Core indicators |
Resolution | 4096×3000 |
Frame rate | 30.5fps |
Bit Depth | 12bit |
Color | Black and White |
Pixel size | 3.45μm×3.45μm |
4) Revealer synchronization trigger.
5) Revealer DIC three-dimensional strain measurement software.
Core functional modules |
Full-field 3D coordinates, displacement, velocity, acceleration, angle |
Full-field 3D strain (Lagrangian, engineering, Euler strain, etc.) |
Material mechanical properties Poisson's ratio, R value, N value, elastic modulus |
Fatigue acquisition, vibration mode, large field of view stitching |
Finite Element Simulation of Solid Mechanics Materials |
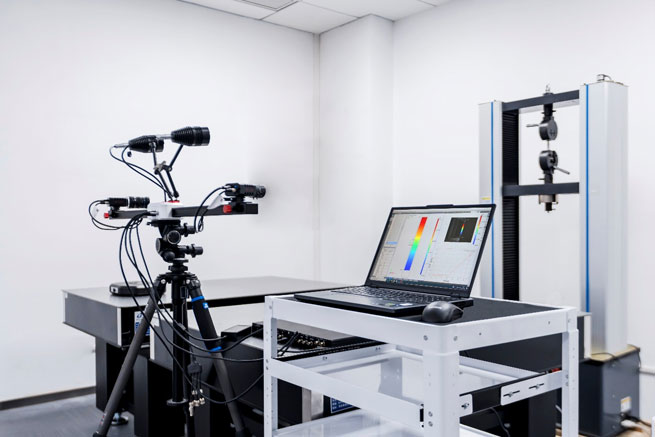
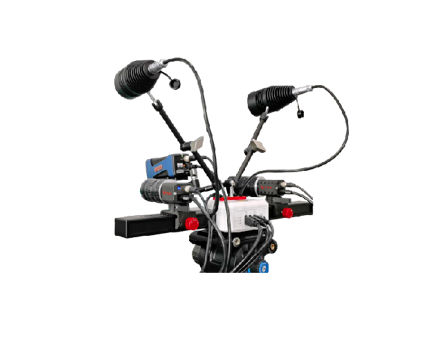
The first step is to build two DIC binocular quasi-static measurement systems, which feature high resolution, high dynamic range, and are equipped with 50mm industrial lenses. The field of view covers a size of 30×30cm, as shown in the figure below.
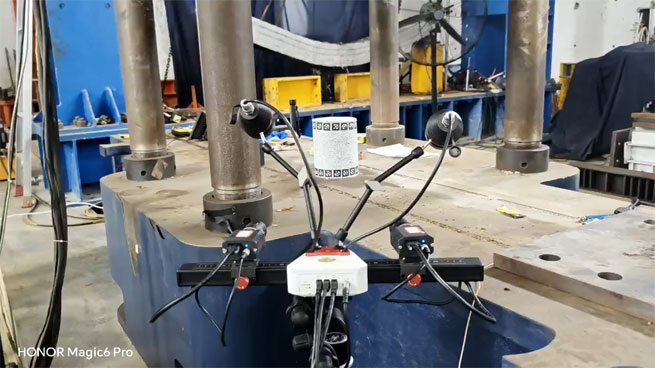
Figure 1
Step 2 Post the coding points around the specimen and calibrate it using the 24-step calibration method.
Step 3 Take out the specimen and place it on the hydraulic testing machine, start the hydraulic press, and continue to increase the load evenly at a loading rate of 0.02MPa~0.05MPa per second until cracks appear on the specimen.
Step 4 Add blue light source to fill in the light, and use polarizer to eliminate reflections on the surface of the specimen. Adjust the position of the beam and camera so that each acquisition head covers a 45° test area and one set of devices covers a 90° cylindrical specimen. Both sets of DIC binocular quasi-static measurement systems are controlled by a synchronous trigger at a speed of 5fps to synchronously collect 720 frames of images, and use DIC three-dimensional strain measurement software to calculate the axial displacement value DY (see video 1) and axial Lagrangian strain value EYY (see video 2) of the semicircular area of the specimen.
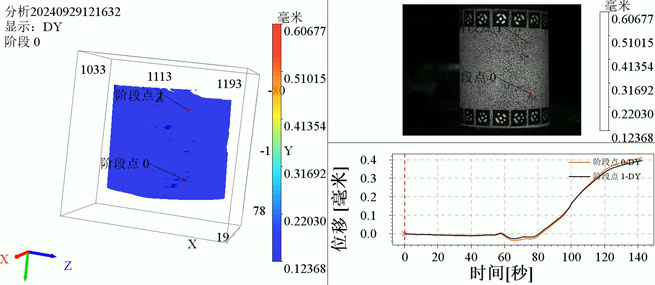
Video 1
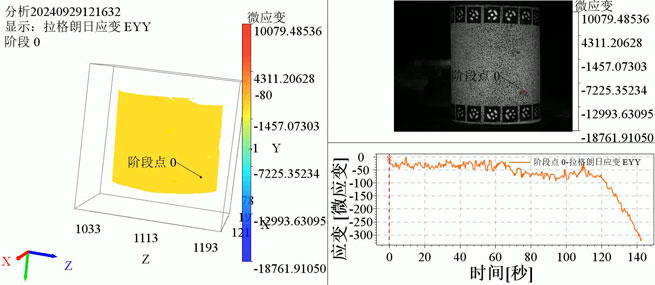
Video 2
Step 5: Use the large field stitching function to stitch the semicircle of the cylinder. In the subsequent extended experiment, 4 sets of DIC measurement devices with a total of 8 cameras were used. Synchronous acquisition can achieve 360° full-circle strain measurement. The effect after stitching is shown in Video 3.
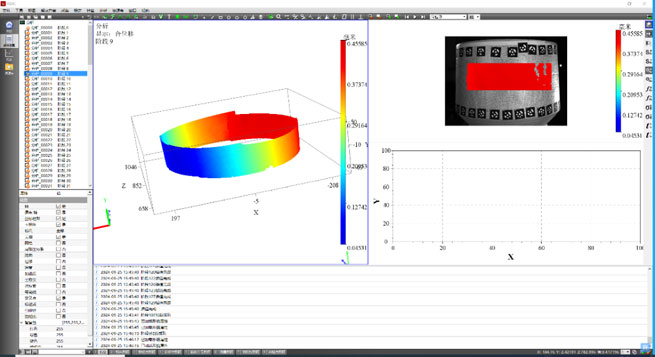
Video 3
4.1 Revealer DIC three-dimensional quasi-static measurement device can cover 90° of cylindrical structural parts. The synchronous acquisition of 4 cameras of 2 sets of measurement devices can realize 180° semi-circular deformation measurement. The synchronous acquisition of 8 cameras of 4 sets of measurement devices can realize 360° full-circle measurement.
4.2 Using the field of view stitching function of DIC three-dimensional measurement software, the data of all XYZ axes and deformation strain of the cylindrical structure specimen are stitched together for 360°, and the complete surface three-dimensional measurement of the cylindrical specimen is completed. The displacement accuracy of the measurement results can reach XXX, and the strain accuracy can reach XXX.
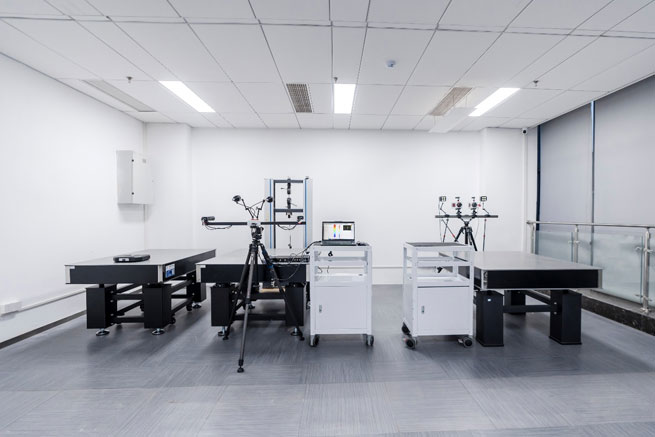
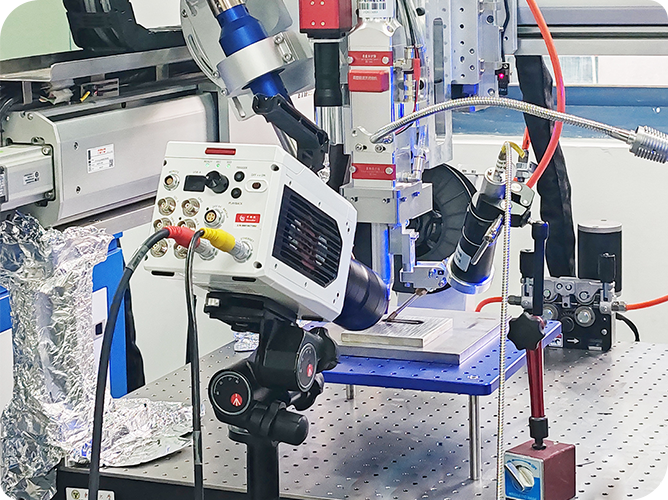
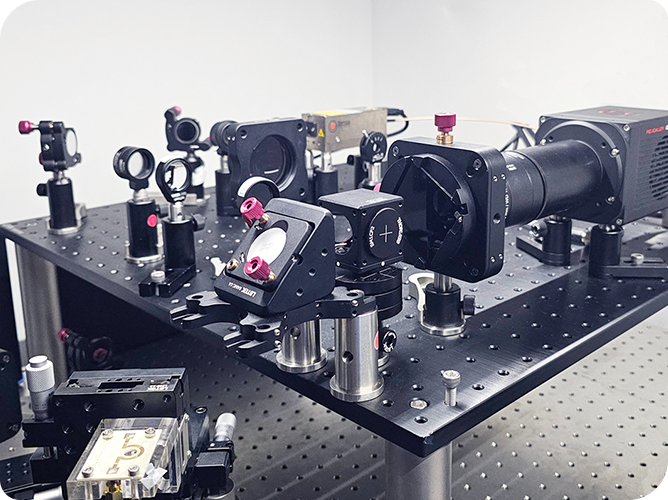
Revealer Optical Image Measurement Laboratory is one of the key research and development bases built by the China Science and Technology Vision Reference Metrology Institute and the domestic key university laboratory. It covers an area of about 200 square meters and currently has a full-time optical measurement team of more than 20 people, including 7 doctors. It provides comprehensive, visual, and system-level solutions based on high-speed photography technology and digital image related technology. It provides 20kN seated and 5kN desktop universal testing machines, video extensometers, high-speed cameras, high-resolution cameras, high-precision displacement detection optical platforms, laser interferometers and other instruments and equipment to visualize the stress-strain behavior, elastic modulus, stretching, Poisson's ratio, crack extension characteristics, etc. of various types of materials such as metals, composites, and elastic-plastic materials under dynamic, static, and thermal loads.
Revealer Optical Image Measurement Laboratory is open to teachers from universities, research institutes, and technical personnel from enterprises and institutions. Please make an appointment for communication.
