Email Us
Eng
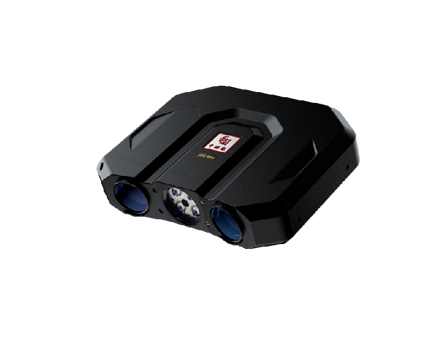
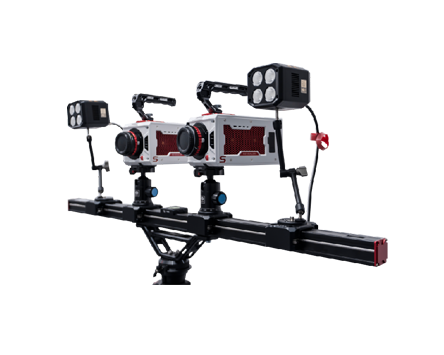
Digital Image Correlation(DIC) Measurement System

Digital Image Correlation(DIC) Measurement System

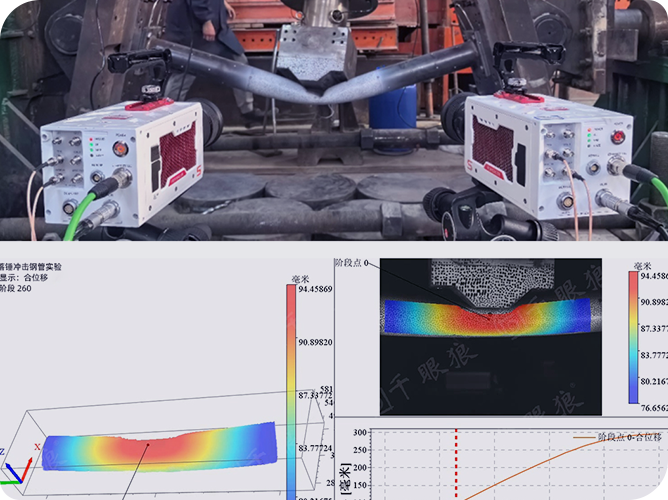
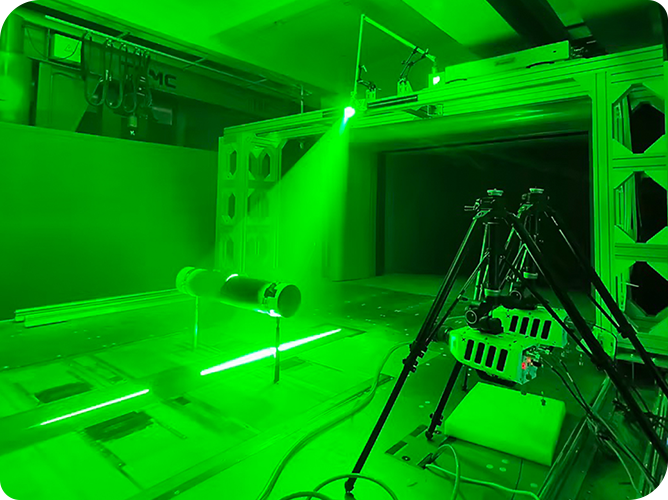
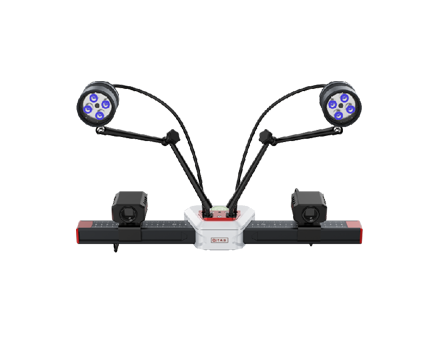
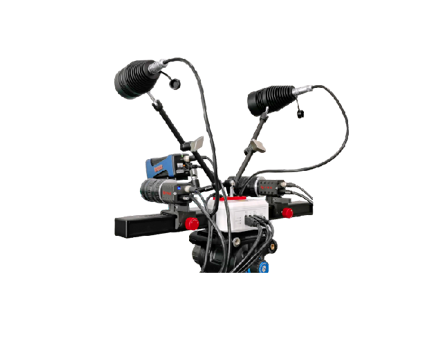
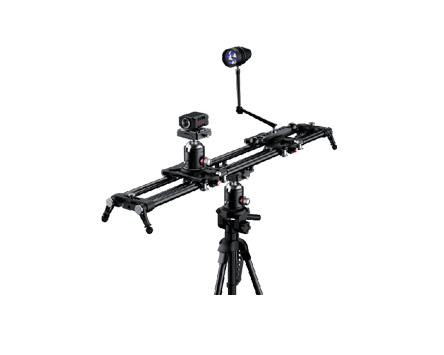
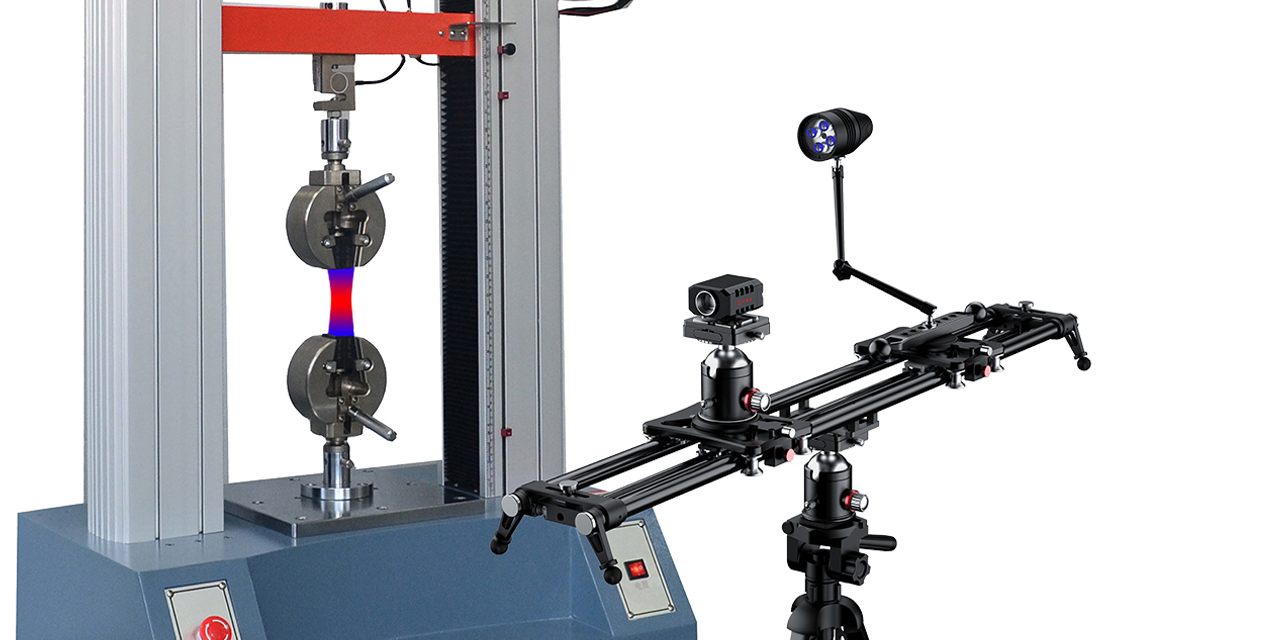
Non-contact, full-field strain and deformation measurement with vibration analysis, integrating thermal imaging and digital image correlation (DIC), making it ideal for applications in materials mechanics, biomechanics, automotive testing, and related fields.

FAQs of Digital Image Correlation(DIC) Measurement System

What are the types of errors in DIC measurement? What are their sources? How can they be quantified?

DIC mainly has random errors and systematic errors. Random errors originate from camera noise, while systematic errors come from camera drift, heating, temperature variations, and vibrations. Random errors are quantified through spatial and temporal standard deviations. The spatial standard deviation is calculated by computing the spatial standard deviation of the Quantity of Interest (QOI) for each image, and then averaging the spatial standard deviations of all stationary images in the time domain. The temporal standard deviation is calculated by computing the standard deviation of the QOI for each sub-region in the time domain, and then averaging the temporal standard deviations of all sub-regions within the Region of Interest (ROI).
How to match and superimpose the deformation field and temperature field measured by DIC?

Calibrate and align the visible light camera with the infrared camera using an infrared calibration panel, so that the strain field and the temperature field are in the same coordinate system.

Can the speckle in DIC be replaced by a laser projection?

No. Although laser projection can produce high-brightness patterns, its inherent speckle phenomenon and characteristics such as uncontrollable randomness and uniqueness make it difficult to directly replace the speckle in DIC.

In what scenarios can 2D-DIC be used for approximate measurement? What are the quantitative indicators?

Measurement Scenarios for 2D-DIC: Plane specimen testing, small deformation measurement, and observation from specific viewpoints.

Quantitative Indicators: Displacement measurement accuracy, strain measurement accuracy, measurement range, resolution, and signal-to-noise ratio.


How accurate can displacement measurements be using DIC?

The theoretical displacement measurement accuracy can reach 0.01 pixels.

Advantages of Digital Image Correlation(DIC) Measurement System

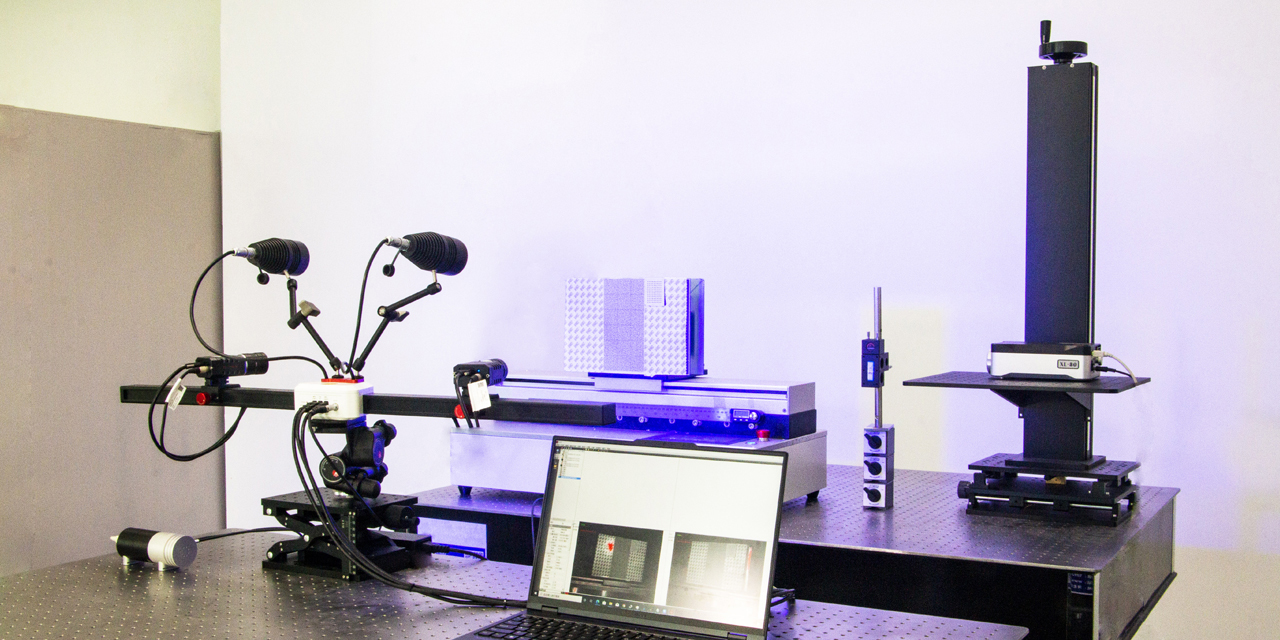
Compatible With Testing Machines, Industrial Cameras, And Infrared Cameras
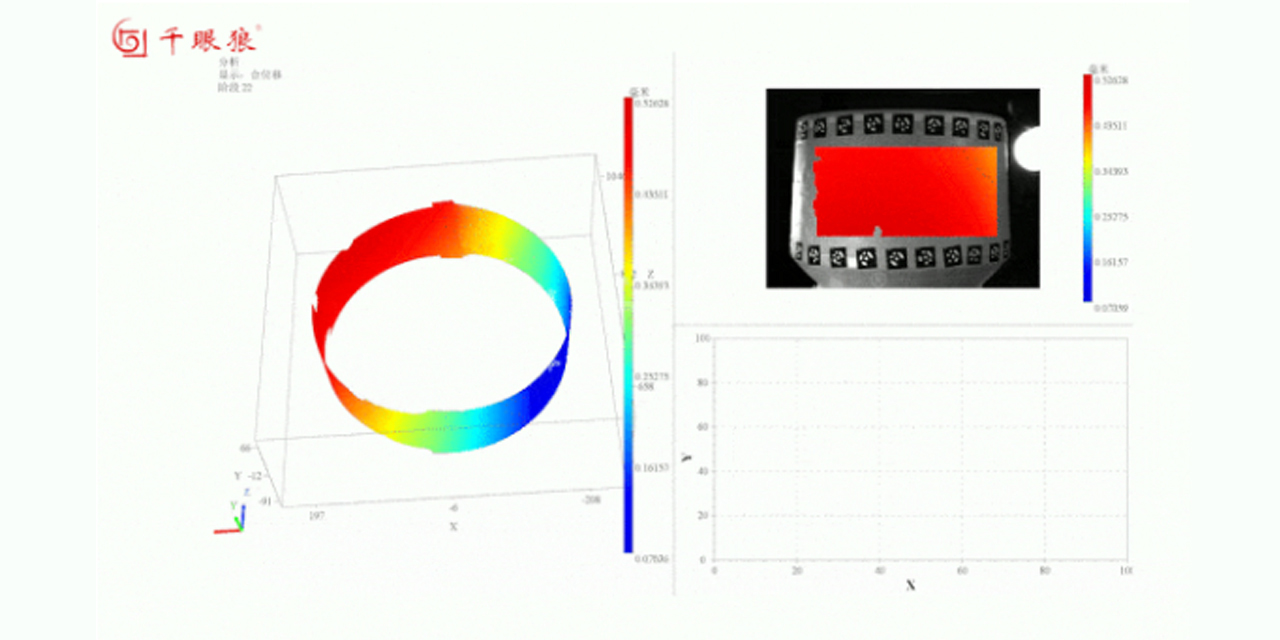
360° Full-Circumference Strain Measurement
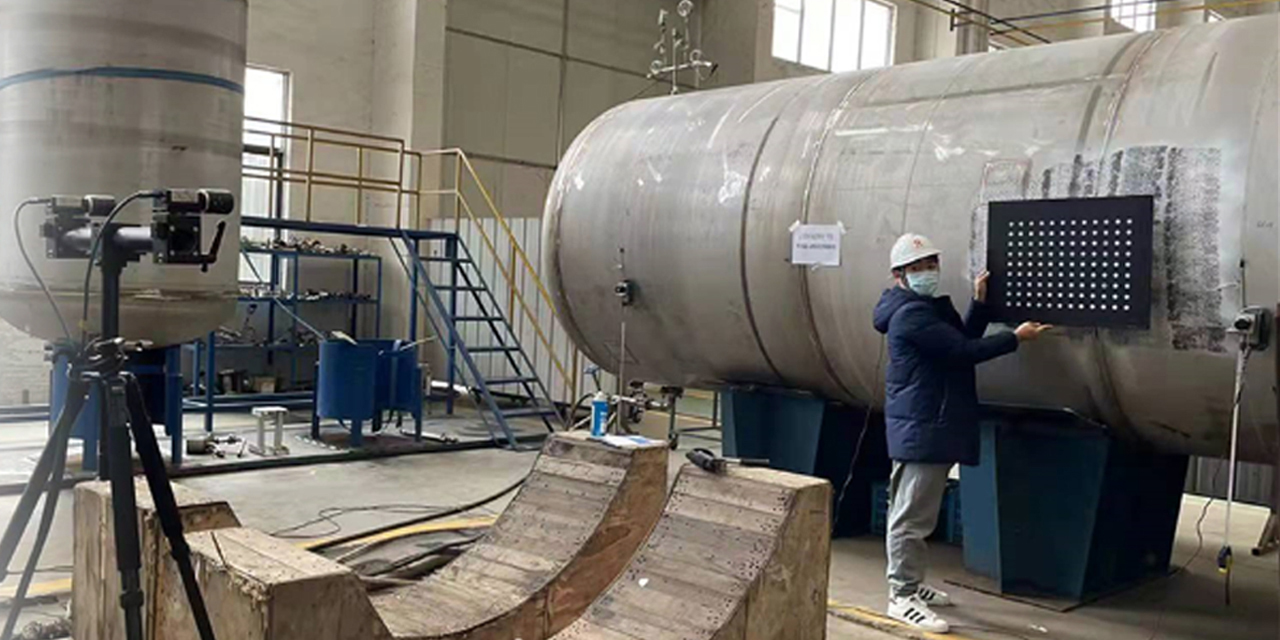
High-Quality Speckle Generation And Calibration For Large, Medium, Small, And Micro Fields Of View
Optimizing Strain Accuracy By Benchmarking Against Laser Interferometers
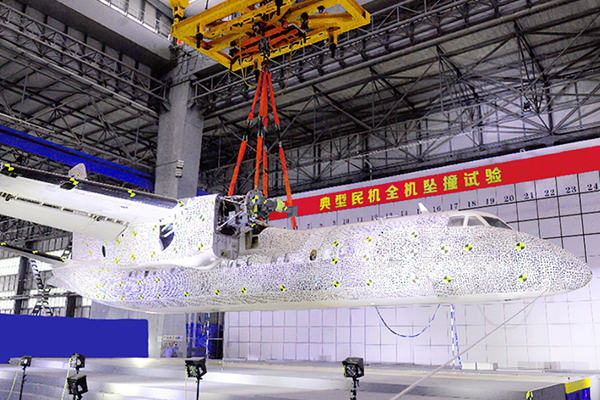
Application of Digital Image Correlation(DIC) Measurement System
Contact with Us
Tel:
Add:
Fuhuang Intelligent New Vision Building, Baohe District, Hefei City, China.
Seek expert advice to select the ideal optical measurement instruments for your specific needs.
Quick Links
Contact Us
Email:
sales@revealerhighspeed.com
Add:
Fuhuang Intelligent New Vision Building, Baohe District, Hefei City, China.
Add:
Fuhuang Intelligent New Vision Building, Baohe District, Hefei City, China.